How to Complete a PAT Test Record
The PAT Test Record is a combined inspection and test record for portable appliance testing. It covers both the visual inspection and electrical test results for every appliance on site. This guide walks through every section of the form so you can complete it accurately and issue it to your client.
Before you begin
A PAT Test Record captures the full testing process: site information, individual appliance test results including earth continuity, insulation resistance, leakage current and functional checks, plus the tester declaration and test equipment details. You can save your progress at any time and come back later - the form autosaves automatically as you work.
The site address will be pre-filled automatically when you link a client to the record. You can edit it afterwards if needed.
Getting started
Navigate to PAT Tests in the sidebar and click New record. You’ll be taken to a create form where you set the basic details before filling in the record itself.
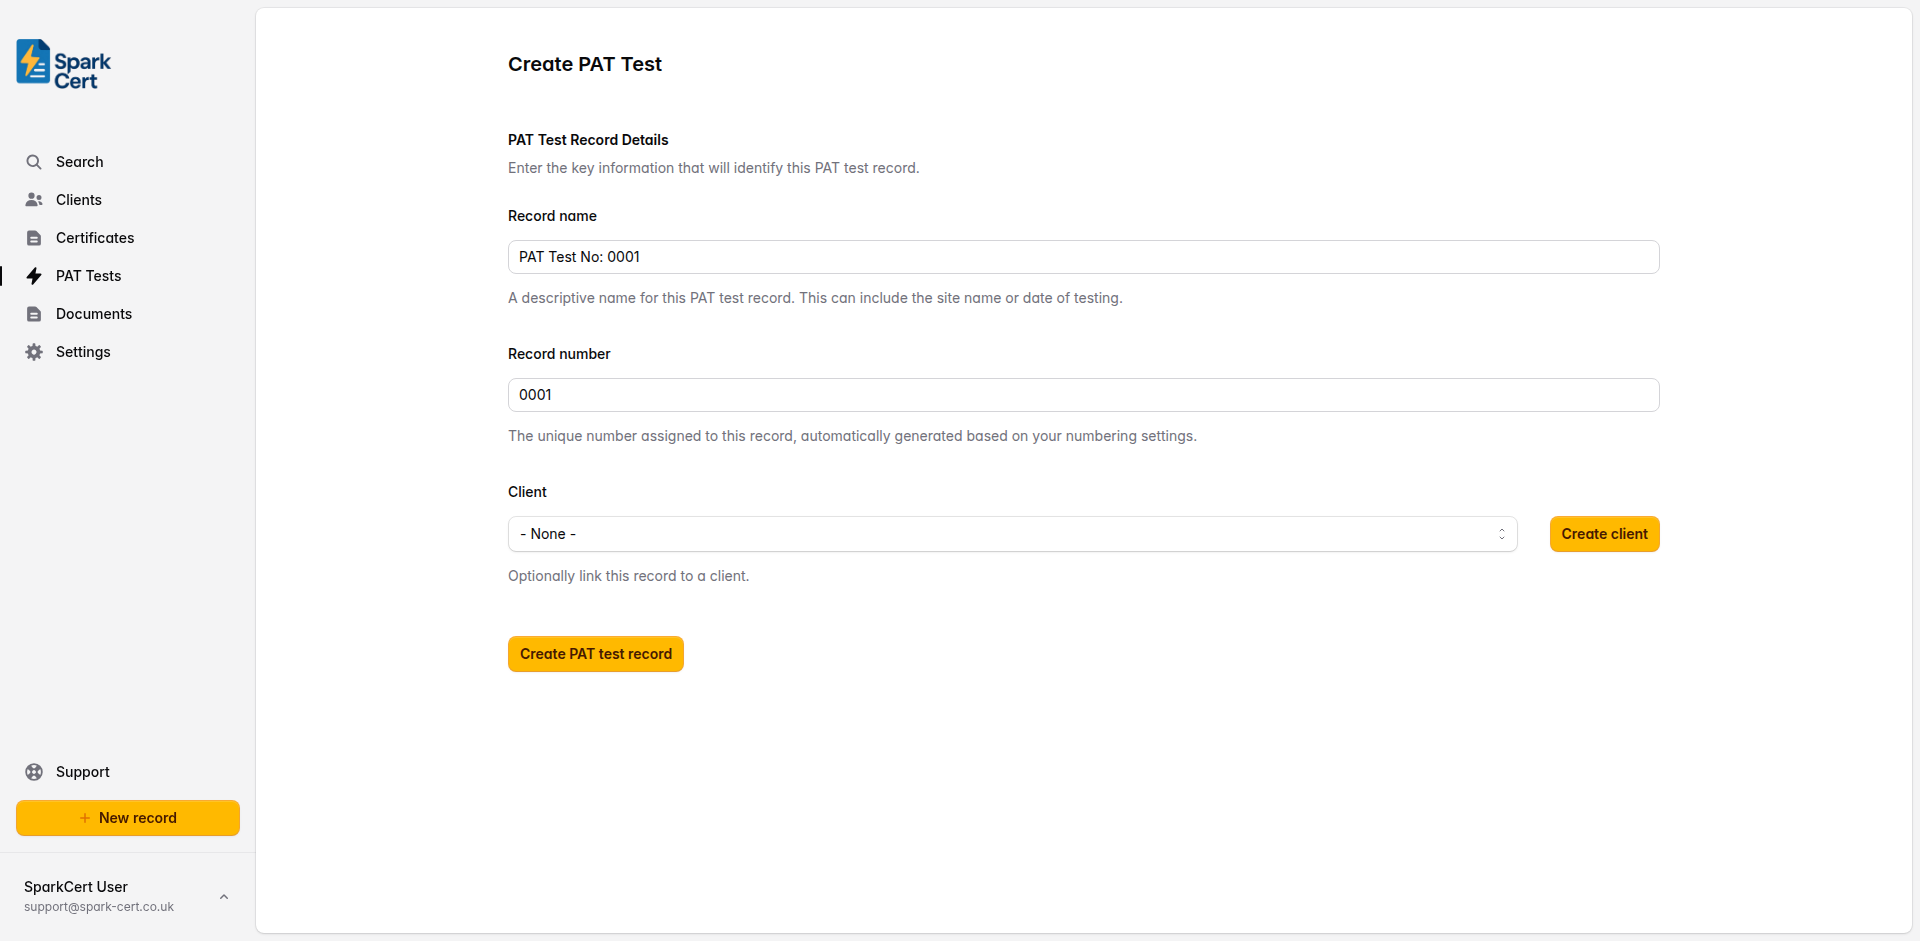
Record details
These fields identify the record in SparkCert. They appear in your records list and on the issued PDF.
A descriptive name to help you identify the record later - e.g. the site name or date of testing. A default is generated automatically but you can change it.
A unique number for the record, automatically generated based on your numbering settings and incremented with each new record.
Optionally link the record to a saved client. Selecting a client pre-fills their address as the site address. You can also create a new client inline without leaving the page.
Site Details
The location and date of the testing. These appear in the header of the issued PDF.
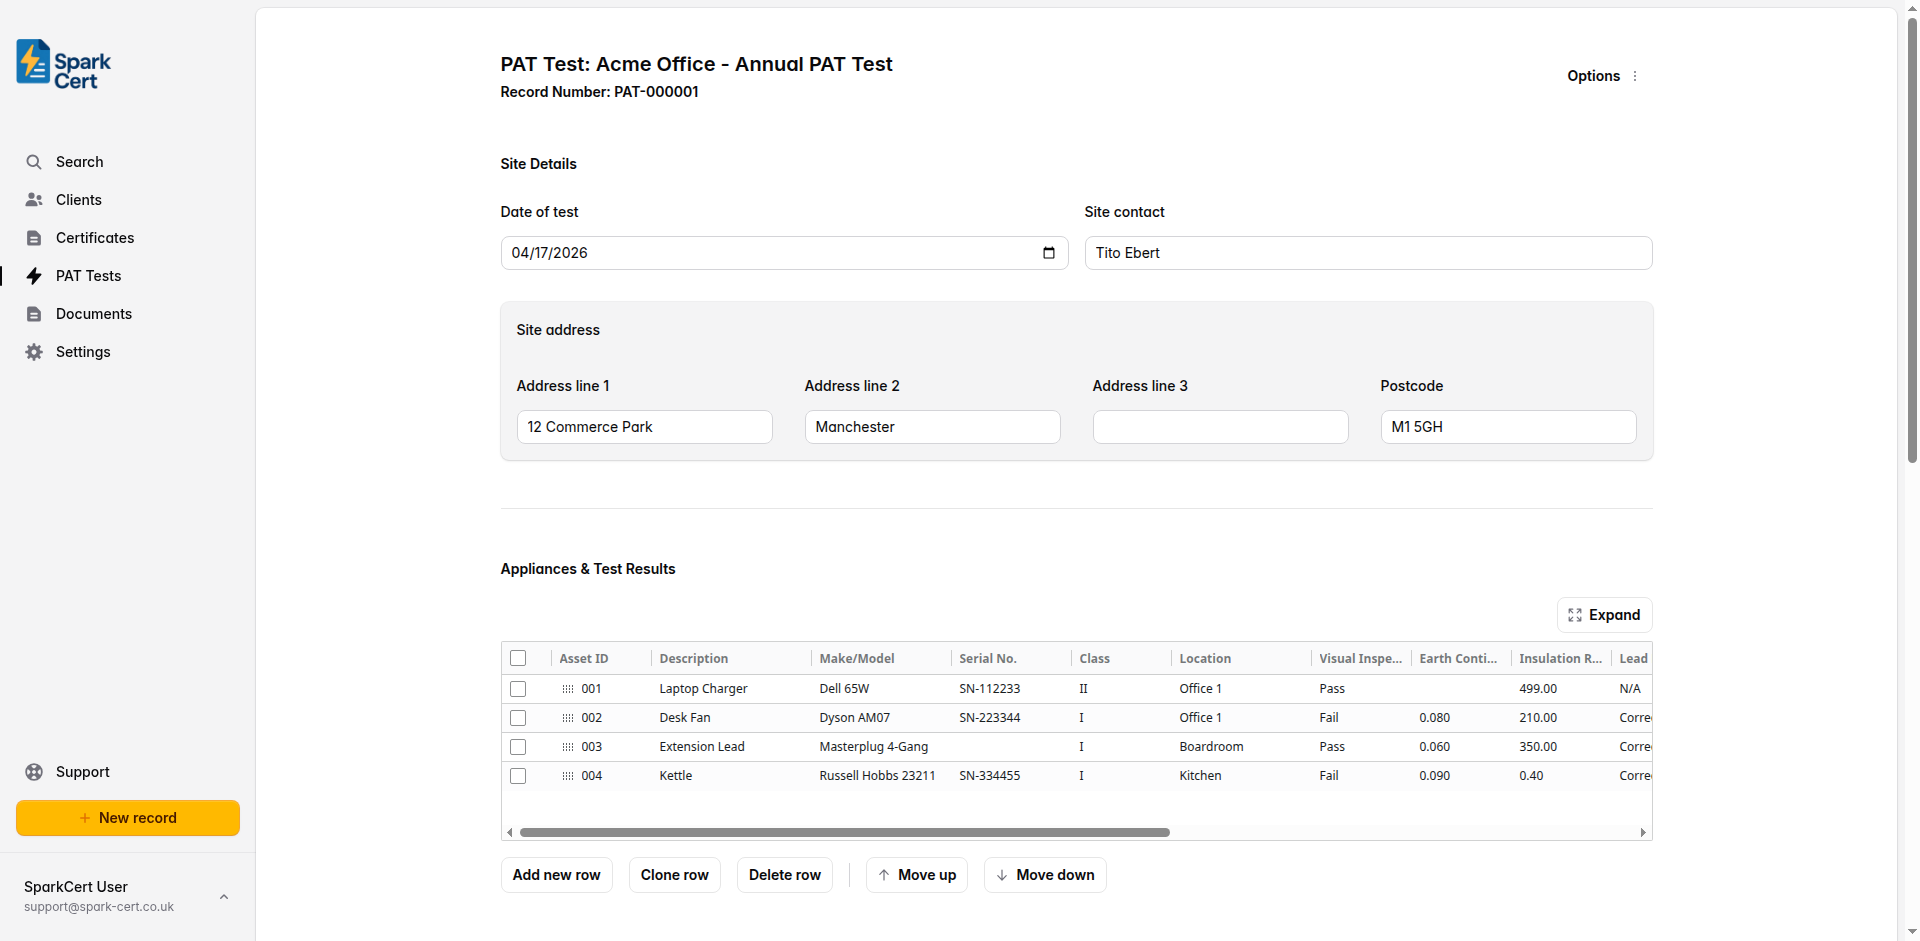
The date the testing was carried out on site. Defaults to today’s date.
The name of the person at the site who was the point of contact for the testing - e.g. the office manager or facilities contact.
The full address of the site across up to three lines, plus postcode. Pre-filled automatically when a client is linked.
Appliances & Test Results
The appliances table is the core of the record. Each row represents one appliance tested. Click any cell to edit it, and use Tab to move to the next cell. New rows are added automatically as you fill in the last row.
New rows automatically set the Retest Date to one year from today. To set the same retest date across multiple rows at once, select those rows using the checkboxes on the left, pick a date in the Set retest date input below the table, then click the button. Rows can also be reordered by dragging the handle on the left side of each row.
Appliance identification
A unique reference for the appliance - typically a PAT label number or asset number - e.g. “001”, “IT-042”. This column also acts as the row drag handle for reordering.
What the appliance is - e.g. “Laptop charger”, “Desk fan”, “Extension lead”.
The manufacturer and model name or number of the appliance.
The serial number from the appliance label, if present.
The appliance class as defined by its construction. I relies on an earth connection for protection. II has double or reinforced insulation and does not require an earth. II FE is functionally earthed but not for protection. Select N/A for items not covered by these classes.
Where the appliance is situated within the site - e.g. “Office 3”, “Kitchen”, “Reception”.
Inspection & test results
The result of the visual inspection. Select Pass if no defects were found, Fail if any damage, wear, or unsafe condition was observed, or N/A if not applicable. Defaults to Pass.
The earth continuity resistance measured between the earth pin of the plug and the exposed metalwork of the appliance, in ohms. Only applicable to Class I appliances. Typically should not exceed 0.1Ω plus the resistance of the supply lead. Leave blank if not applicable.
The insulation resistance between live conductors and earth, in megaohms. For most appliances the minimum acceptable value is 1MΩ. Leave blank if not applicable.
Whether the polarity of the supply lead is correct. Select Correct, Incorrect, or N/A for appliances with non-polarised plugs. Defaults to N/A.
The earth leakage current measured in milliamps. Leave blank if a leakage test was not performed.
Whether the appliance switched on and operated correctly. Select Pass, Fail, or N/A if a functional check was not required. Defaults to N/A.
Whether the fuse fitted in the plug is of the correct rating. Select Pass, Fail, or N/A if not applicable. Defaults to N/A.
Outcome
The overall outcome for the appliance. Pass means the appliance is safe to continue in service. Fail means it should be taken out of service for repair. Fail-Danger indicates an immediate danger - the appliance must be removed from service immediately. The overall record result on the PDF is determined by this column across all appliances.
Any additional observations about this specific appliance - e.g. damage noted, repairs recommended, or reasons for a fail result.
The date by which this appliance should next be tested. The appropriate interval depends on the type of appliance and its environment - refer to the IET Code of Practice for guidance. Defaults to one year from today.
Test Equipment
Details of the PAT tester used to carry out the electrical tests. This appears at the bottom of the issued PDF and provides a traceable record of which instrument was used.

The manufacturer of the PAT testing instrument - e.g. “Seaward”, “Megger”, “Metrel”.
The model name or number of the PAT tester - e.g. “Primetest 250+”, “PAT450”.
The serial number of the PAT tester. You can save your test instruments in Settings → Test Instruments and use the autofill button to populate all three fields at once.
Tester Declaration
Details of the person who carried out the testing. This section appears on the issued PDF alongside the site details.
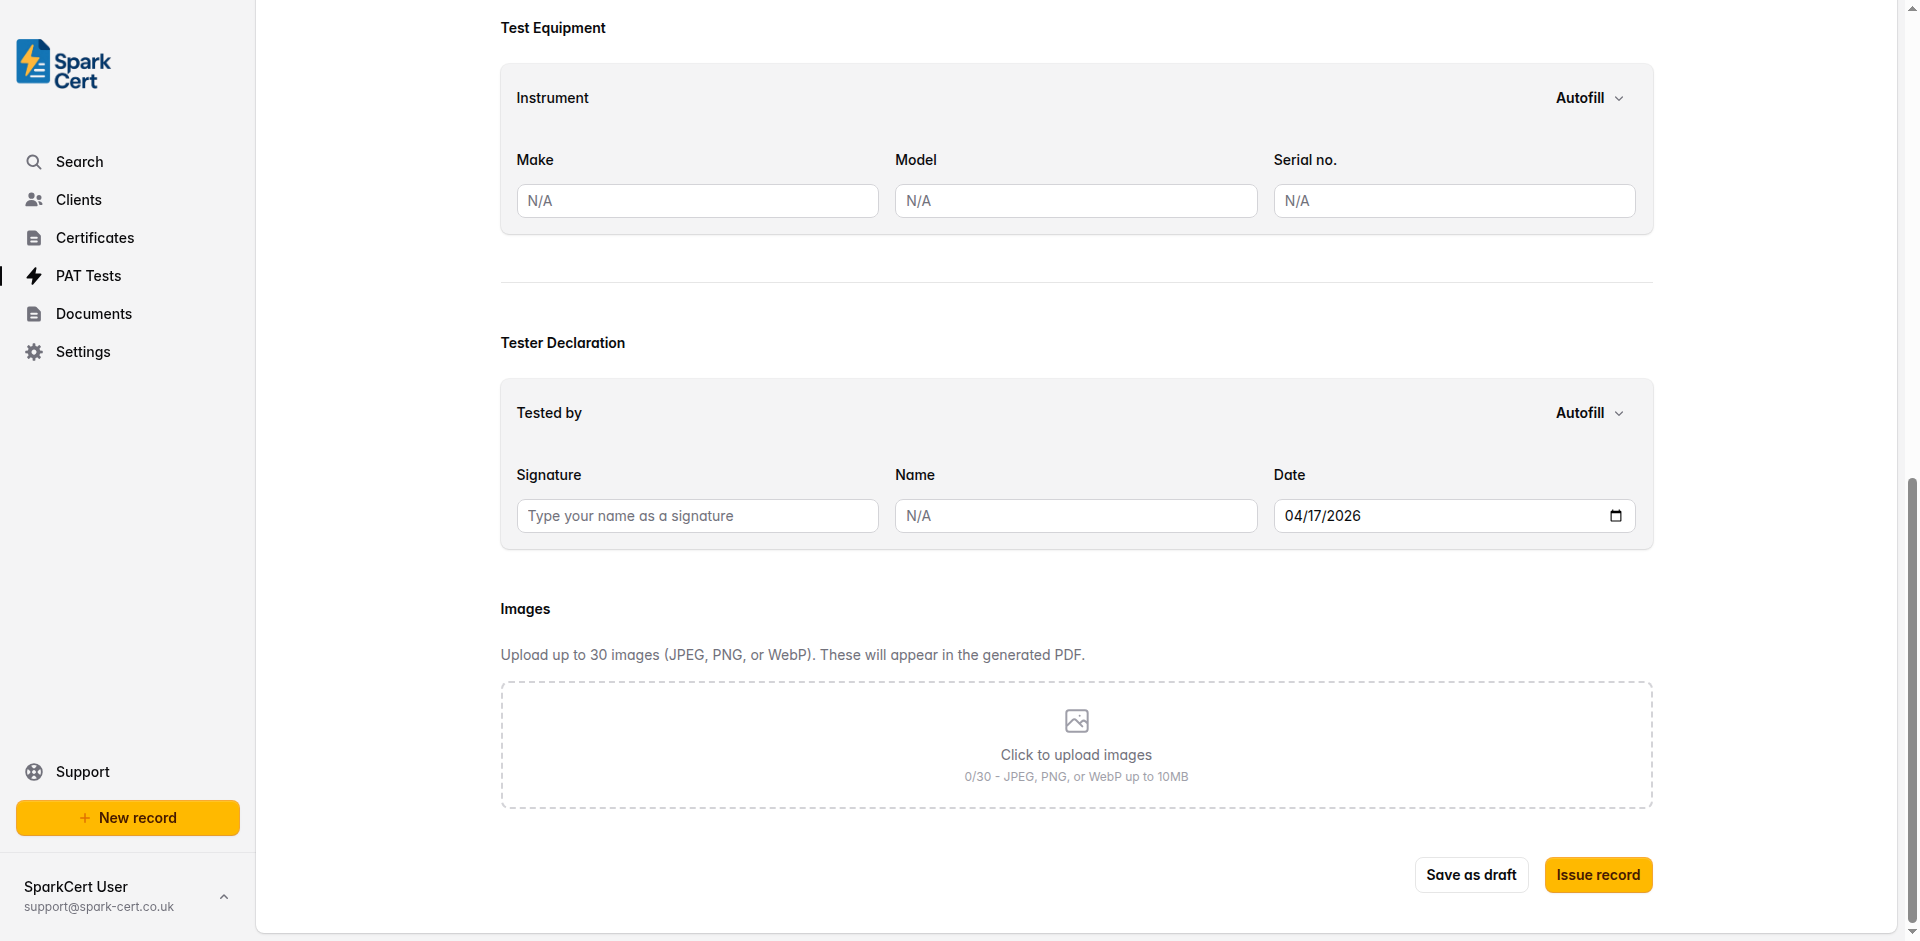
Type your name as a digital signature. This is rendered in a signature font on the issued PDF. Pre-filled from your profile settings.
The full name of the person who carried out the testing. Pre-filled from your profile settings.
The date the tester is signing the declaration. Defaults to today’s date.
Tip: You can save contractors in Settings → Contractors and use the autofill button to populate the signature and name fields at once. If testing on behalf of your own company, these fields are pre-filled from your profile.
Images
You can attach photographs to the record. These are embedded directly into the generated PDF, making them a permanent part of the record.
Click the upload area at the bottom of the form to select one or more images. Accepted formats are JPEG, PNG, and WebP, up to 10 MB each. Images are saved immediately - they are not part of the form’s autosave cycle.
Each image has an optional caption field. Click below a thumbnail to add a description. Captions appear beneath the corresponding image in the PDF.
Drag and drop images to change the order they appear in the PDF. Hover over an image and click the red cross to remove it.
Issuing the record
Once you’ve completed all sections, review the record for accuracy and click Issue record. Issuing locks the record to prevent accidental edits, and you can then download the PDF or email it directly to your client from SparkCert.
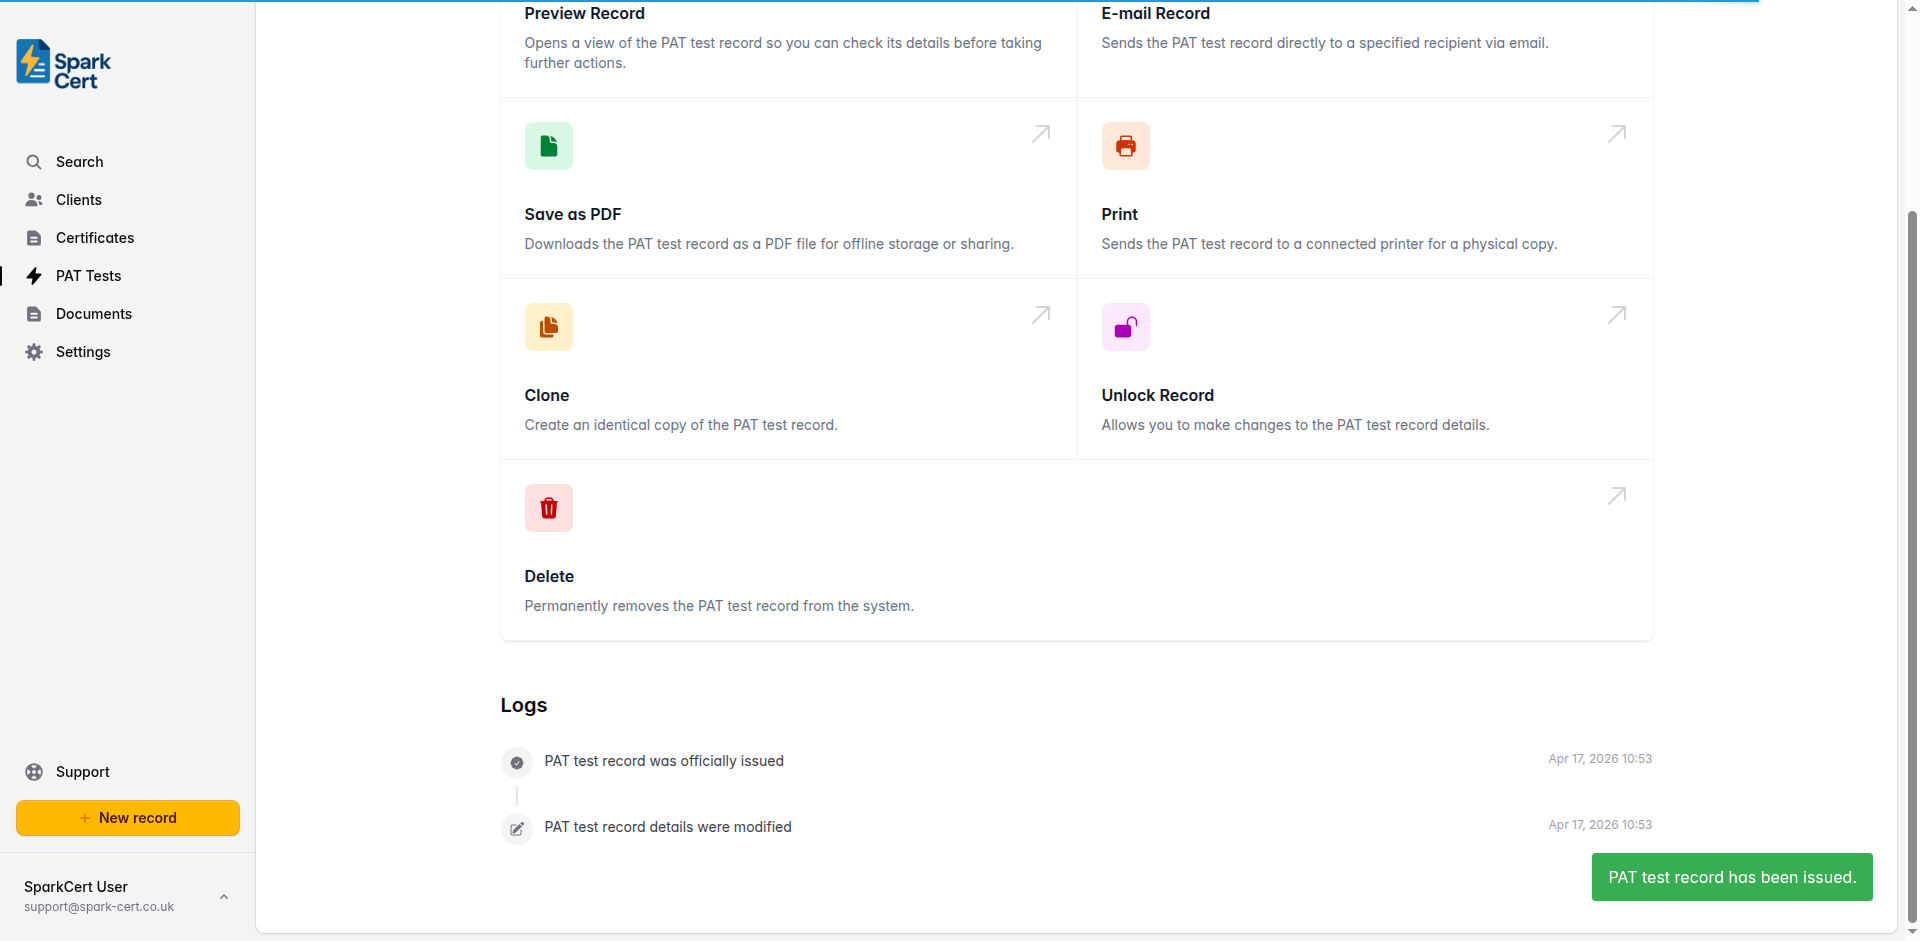
If you need to make corrections after issuing, you can unlock the record, make your changes, and re-issue it.